


0 items - £0.00
No products in the basket.
Our computer generated calculator is programmed to give a price estimate based on your location, vehicle, service type and service provider requirements.


Use our quote system and you can request a quote through 3Dom Wraps and we will distribute your request to the best service providers in your local area.


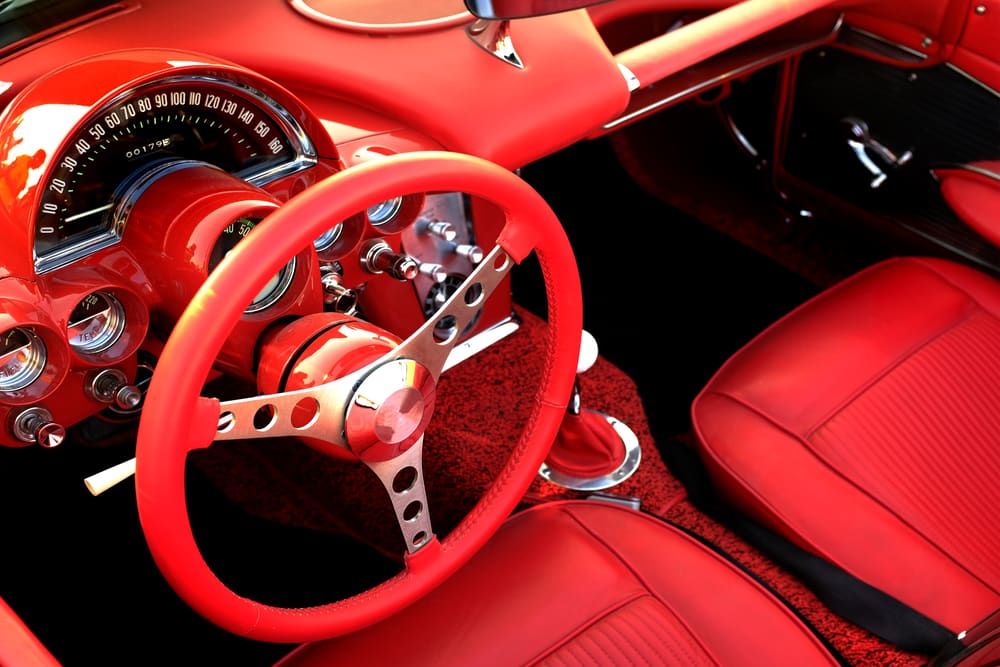
This is the third of our #AttentionToDetail blogs and now that we have covered Detailing Preparation and Exterior Detailing, we move on to the interior of the car. We will again break the broad topic of interior detailing down into steps so it is easier to follow and if time isn’t a luxury you can afford, you can pick and choose which steps you have time for and which need to be left for another time. We will be looking at:
Cars can of course be valeted by a company but they don’t always clean and detail the car to the level you want and expect from a professional firm, so for instances like that it is worth having a read about what is required and the techniques used to detail a car to the high standard you want. A lot of it depends on how much time you have free and if you have the know-how. To detail the interior of your car you are going to need the recommended products we mentioned in the preparation blog, as listed again below:
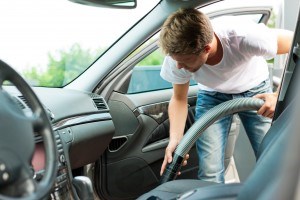
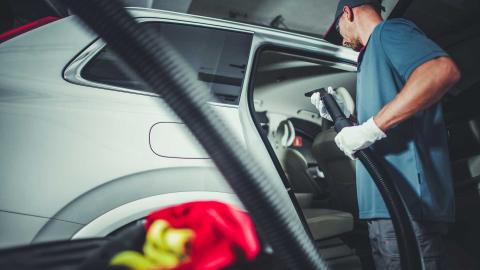
This is exactly what it says on the tin. Gut the car of all litter and bits of obvious dirt and rubbish that is lying around. Slide the seats to the maximum forward position to check under them and then slide them to the maximum rearward position to check again. It is such an obvious step to detailing your car but removing any rubbish inside instantly makes it look smarter and much more inviting to sit in.
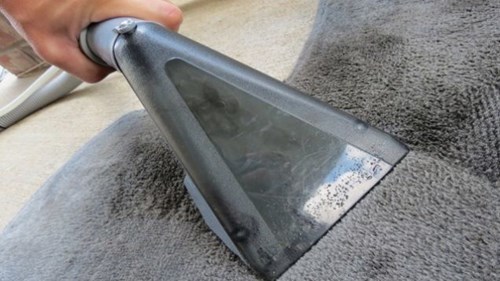
Once all of the obvious rubbish has been removed the next step is cleaning the carpets and mats. It is best to remove the parcel shelf, any floor mats or seat covers you may have first as any dirt on them can fall onto the carpet-or you may just miss the dirt under them all together. The same rule of thumb applies yet again, start from the top and work down. clean the parcel shelf and mats out of the car, using the vacuum cleaner and if they have marks and stains on them, carpet shampoo can be used to clean them further. You may consider getting professional carpet cleaning from a local cleaning company who can also do this job for you. If they are rubber mats then rinse them thoroughly, once you have shampooed the fabric mats, and rinsed the rubber mats, hang them up so they can dry off.
(Image credit to: Wash n Roll)
The carpet itself needs to be shampooed to clean it-preferably spray on shampoo as it covers the area more evenly. Get a thick bristle brush and work the sprayed shampoo into the carpet one area at a time. It is best to work in section rather than spraying the whole carpet first as if it is left to long and is given time to soak in, the carpets can develop mildew. So for that reason it is also best to have some kitchen roll as well to soak up any overly damp patches left behind after you have worked the shampoo into the carpet.
If there is a slightly heavier stain on the carpet just spray a little more shampoo or, a specific stain remover, onto that area and work it in again.
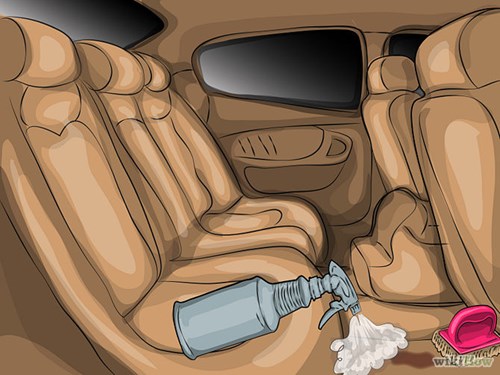
(Image credit to: WikiHow)
A bottle of compressed air is recommended for this stage as you can blow out any dust and dirt that is in the harder to reach areas, have a vacuum cleaner set up next to it to act as an extractor, so you don’t end up just blowing the dirt around the car and it is removed instead.
To get to all the dirt and dust in the car you should slide the seats the whole way forward when shampooing the carpets and cleaning, and when detailing the centre console you want to do the same with the gear stick. A lot of dirt can build up in the crevases between the shifter and the gear shift gate, so move up and down through the gears to allow yourself access to each gear slot to detail it properly.
For finer areas such as this, a thin tipped brush should be used in order to sweep out any of the dirt, and you can again use the compressed air to clear any gaps.
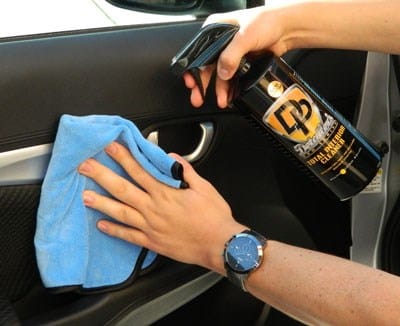
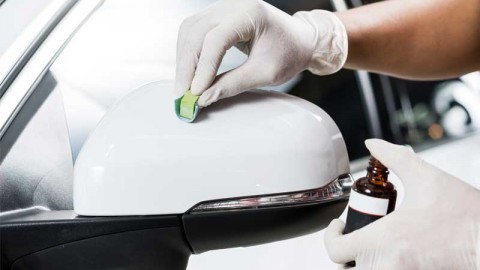
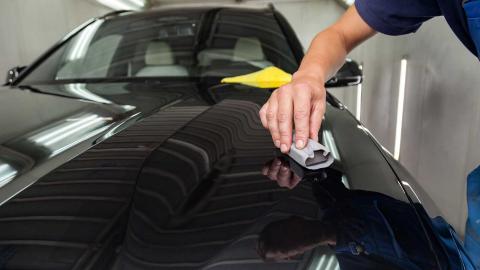
The center console and the dashboard can be wiped down with a mild all purpose cleaner once you have blown and swept away any obvious dust and dirt. Use a spray on cleaner and wipe it over the interior surfaces. To finish the surfaces you will need an interior dressing, Armor All offer some great products so check them out, you can use them on all of the dashboard and centre console, plastic and door trim and also vinyl seats.
Interior dressing really adds the last shine to your detailing efforts, so take time to make sure you you protect all of the surfaces and apply it evenly. You don’t want any excess or streaky marks left behind so work the dressing into the surfaces, by the end and with continued use your plastics and trim will look refreshed and restored.
DO NOT: Use interior dressing on the pedals, steering wheel, leather seats, or any car control and exterior features. It will make a surface slippery so avoid the areas mentioned as this jeopardises your safety when driving.
Make sure you start off in a small test area to get a feel for it and to observe the effects before you use it any any large trim surfaces.
(Image credit to: Autogeek)
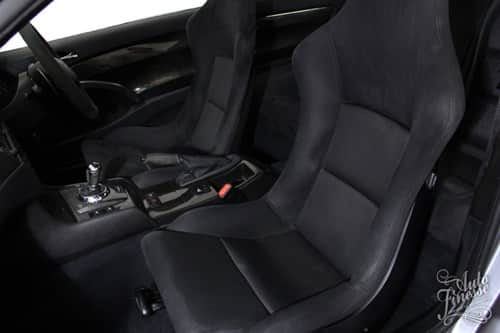
Detailing your seats can make a big difference to the interior of your car as they are the first think you really see as you look into the car, and they can very quickly look dull and discoloured if you spill things, drop crumbs from food and just from the bleaching effect from the sun. Different materials require different methods in order to clean and detail them to a high standard.
There isn’t one set uniform method that should be used so, to make it easier, we have looked at the different methods for different seat types. Have a look below for the method that best suits your car seats.
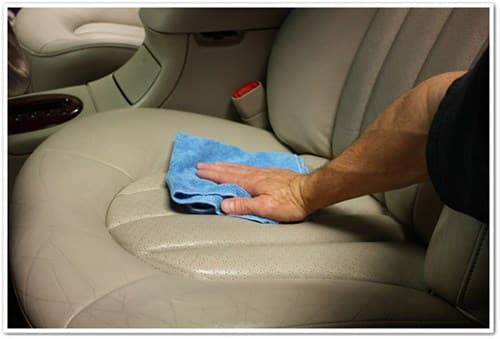
Fabric seats are easier to clean than leather seats as they can done in the same way as the carpets. Use car interior shampoo and scrub into the fabric using a sponge. Do it in small areas and, as with the carpets, make sure you don’t soak the seats as this can lead to mildew and make the finished product look worse than before you started.
Once you have shampooed the seats use a damp microfibre cloth to wipe them down, removing the dirt the shampoo and scrubbing should lift up, leaving a clean seat underneath. There is no harm in repeating the detailing process a number of times until you are happy all of the dirt and stains have been lifted from the seat, just make sure you don’t gradually make the seat soaking wet.
Use a cloth or soak up any moisture left on the seats once you have shampooed them. Once the cloth feels dry again after you have used it to try and soak up more moisture you have done it enough times. If it still feels wet you need to keep wiping over the seats.
Another method is to use a ‘wet-vac’ (Water Extraction Carpet Cleaner) this will give you neater lines in the material and may be more powerful than if you clean and detail by hand. It depends on how much time you have and if you are prepared to go over the seats a number of times to get the best results.
(Image credit to: Lifehacker)
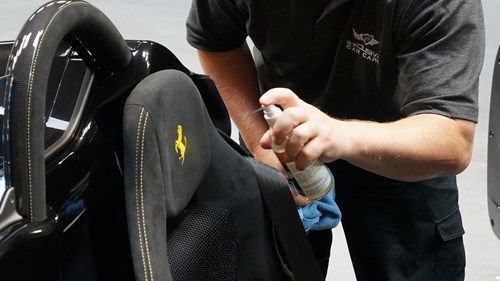
Leather seats require more time and attention in order to be detailed well. You don’t want to leave streaky lines on them and they need to be conditioned and buffed well or marks will appear on them and the areas that have not been conditioned correctly will crack over time and deteriorate quicker than other areas. To start with you need to prepare the seats the same as any other part of the car, use a vacuum cleaner and a soft bristled brush to remove any obvious dirt and dust. For the folds on the material and along the stitch lines use a microfibre cloth to get into the harder to reach areas. The next step is to use the leather cleaner, of which we have suggested a few at the top of this blog, to clean the seats. Test the cleaner on a small, unseen area of the seat so you can get a feel for how much pressure needs to be applied when scrubbing the seats and how much cleaner needs to be used. Once you have got the hang of it move onto the rest of the seat, but again work in sectioned areas and start from the top and work your way down. You can spray the cleaner directly onto the leather before using the soft bristle brush but if you have perforated leather seats don’t. If you spray perforated seats the cleaner will seep in between the holes, so instead spray it onto the brush itself and scrub it into the leather. Make sure you use a microfibre cloth to wipe it dry afterwards.
(Image credit to: Detailed Image)
You should deep clean your seats, and the whole car, around 3 or 4 times a year – while you should at least vacuum and wipe down the seats once a month.
Alcantara leather is much softer than the usual, shiny, tougher leather you may be used to for car seats. It can quickly look matted and flat from use so it is important that you take your time when detailing alcantara leather to make it look full and refreshed. It is more delicate as a result and needs more care although the method used is largely the same.
You want to start by just vacuuming any obvious dirt on the seat.
The next step is to get hold of an interior car cleaner, or one of the alcantara cleaners we have suggested at the beginning of the blog, and spray it lightly and evenly over an area of the seat. Start with a small, unseen area to practice and then move on to the main body of the seat.
It is always an idea to check the bottle to see if it is a pre-mixed dilute solution or if it needs to be added to water still. If you directly spray cleaning solution that isn’t diluted it can stain or bleach the seat so always make sure you check beforehand and mix to the indicated amount if needed.
Using a spray ensures a much more even covering than simply wiping it onto the seats. Once you have sprayed the seat use a clean, soft bristle brush to scrub the seat, you don’t nee to apply much pressure, just enough that you start to see the dirt lift and when you wipe it away with a microfibre cloth it leaves a clean patch of leather underneath.
It is far better to go back over the same area a number of times, (some areas of tougher dirt may take 3 or 4 goes to properly detail them) than to scrub one area too hard and risk damaging the leather. Take your time with it and make sure you don’t soak the material, just a light film of mist over it.
(Image credit to: Exclusive Car Care)
The microfibre cloth is your indicator as to whether or not you have finished each section. If there is still dirt on the cloth you need to clean the leather further, if it looks clean you are done.
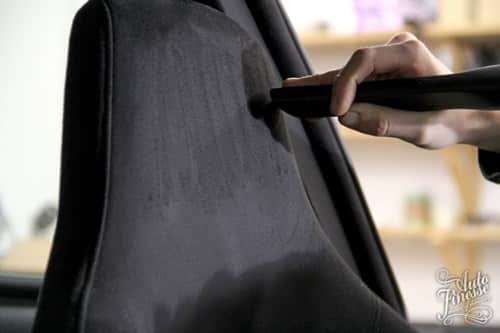
Now that the Alcantara is clean you need to refresh it and lift it. The best and easiest way to do this is to use a vacuum cleaner again. Use the narrower nozzle attachment and run it over the leather in smooth back and forth motions. You almost want to scrub the leather again, while not actually touching it. You are running just above it.
A good tip for this part is to use your finger as a guide and have it just poking past the nozzle end so that it touches the leather, this stops you from dragging the nozzle end across the surface instead.
By following all of the steps above you will be able to detail the interior of your car back to showroom fresh condition. Then all you have to do is look at it, admire it, and enjoy it.
(Image credit to: Auto Finesse)
If you require any more information, or would rather have a professional detail your car for you, please feel free to contact us and check out our services page.
Most car dealers will offer add ons alongside the purchase of your car as a way of sweetening the...
Every car will start to become rusty if you neglect to look after it. On the other hand, the...
Auto detailing describes the process of preparing your vehicle for its best possible condition. It mainly involves cleaning the...
A car is an essential asset that most people spend a lot of money to acquire. To give your...
If you’re looking to get your car detailed, there are several steps you should take to ensure that your...
Breathing new life into an old car is much more cost-effective than buying a new one. With some sensible...
Most accidents happen because of the negligence of one party or another. When this happens, the negligent motorist owes...
Aside from making your vehicle looks shiny and sleek, the paint of your car has many responsibilities to fill...
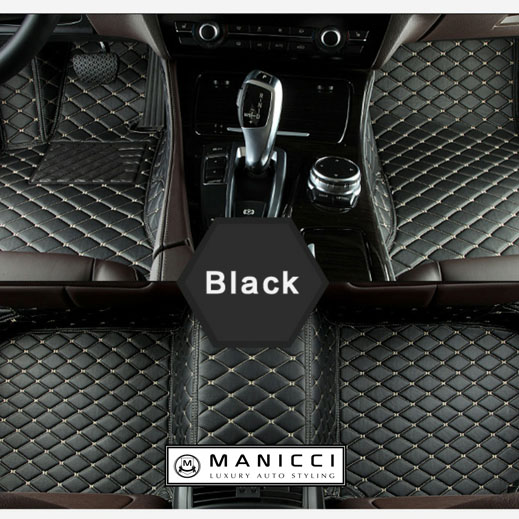 Luxury Fitted Car Mats£229.99
 Audi A3 Xpel PPF Kits£50.00 – £135.00
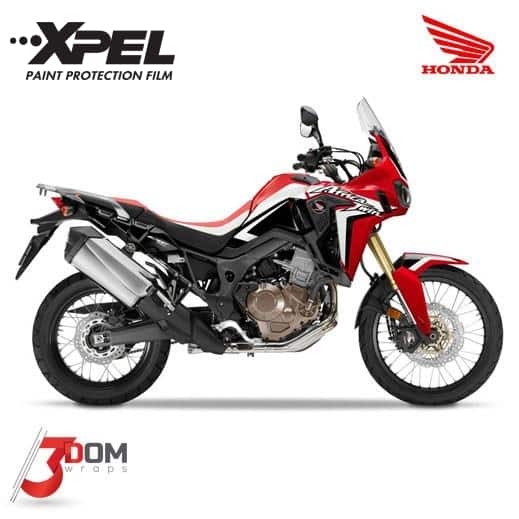 Honda CRF 1000L Africa Twin Xpel Paint Protection£50.00 – £105.00
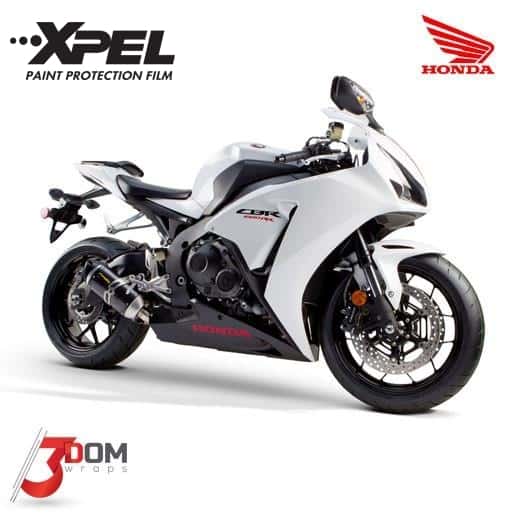 Honda CBR 1000 RR Fireblade 2015 Xpel PPF Film£50.00 – £105.00
 Ducati Multistrada 1200 2015 Xpel Paint Protection Film Kit£50.00 – £105.00
Development Office, Unit 211 East London Works, London, E1 1DU

© 2017 3Dom Wraps | Terms & Conditions | Privacy
Created with love @  Uptime @ Host Crucial


